| Open the VSTS Team Project that the BizTalk Solution is in, go to the Build Tab, Click the + to create a new build |
 |
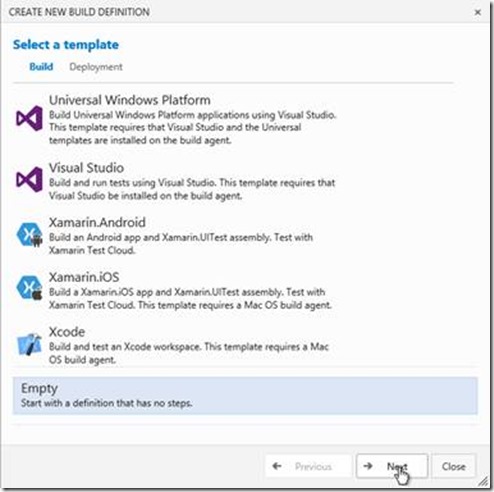
| Select Empty
Click Next
|
 |
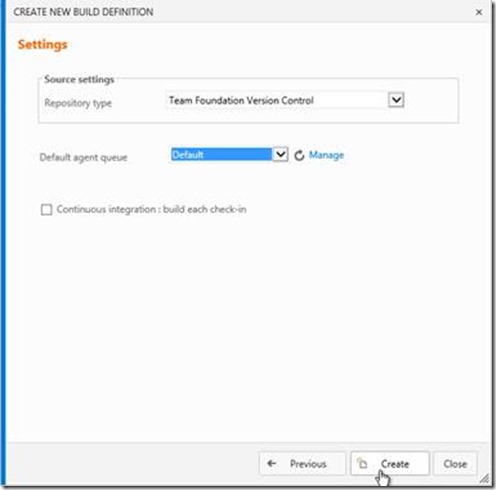
| Select Default for the Default agent queue
Click Create
|
 |
| Click Save |
 |
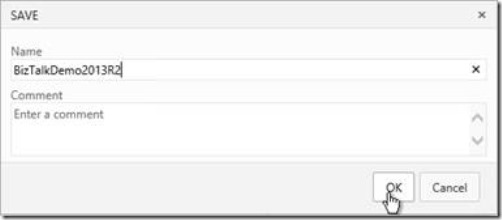
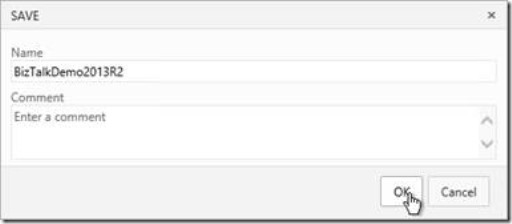
| Type the name for the build, usually the same name as the solution
Click OK
|
 |
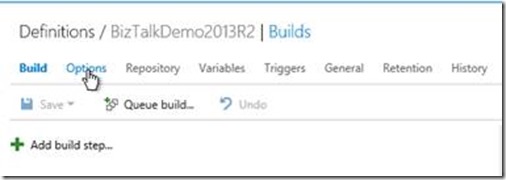
| Click Options
Note: The build steps will be added later
|
 |
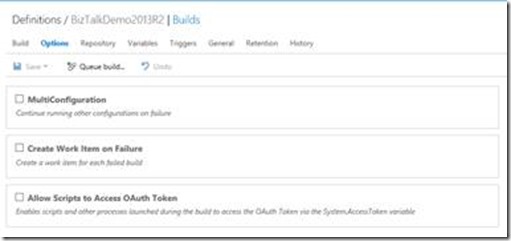
| Take Default Options
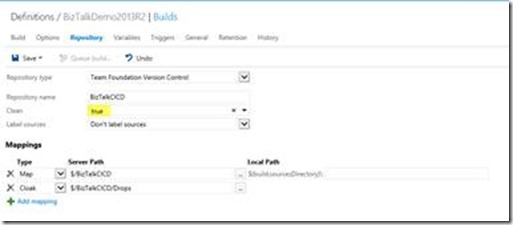
Click Repository
Note: Create Work Item on Failure if build failure work needs to be tracked
|
 |
| Select true for Clean
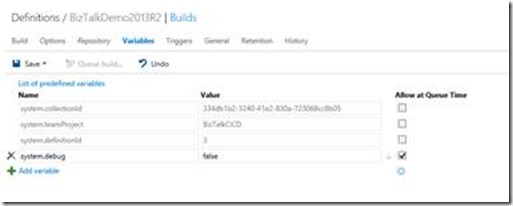
Click Variables
|
 |
| Take Default Configuration |
 |
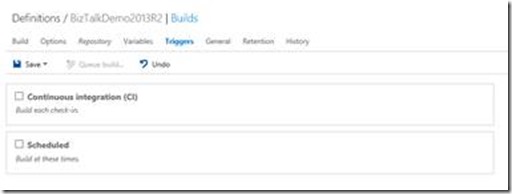
| Take Default Configuration
Note: These can be set according to the clients requirements
|
 |
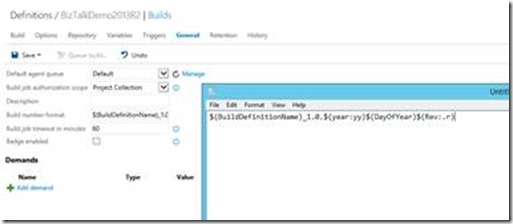
| Enter the string shown for the Build number format |
 |
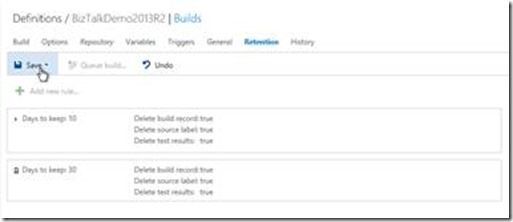
| Take Default Configuration
Click Save
|
 |
| Click OK |
 |
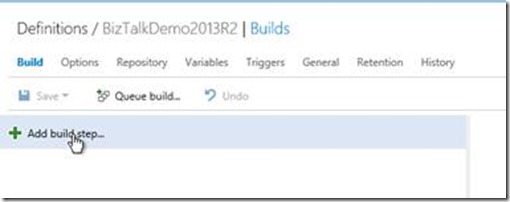
| On the Build Tab
Click Add build step
|
 |
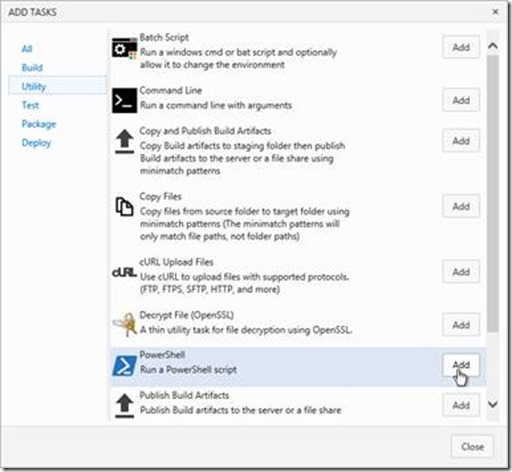
| From Utility Tasks, Select PowerShell
Click Add
Click Close
|
 |
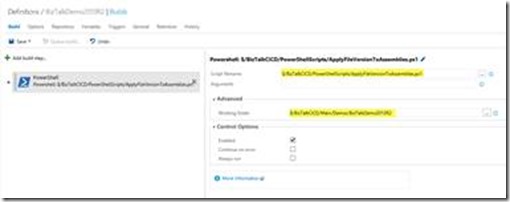
| Configure as shown |
 |
| On the Build Tab
Click Add build step
|
![clip_image028[1] clip_image028[1]](https://www.biztalkbill.com/wp-content/uploads/2016/07/clip_image0281_thumb-1.jpg) |
| From Utility Tasks, Select PowerShell
Click Add
Click Close
|
![clip_image030[1] clip_image030[1]](https://www.biztalkbill.com/wp-content/uploads/2016/07/clip_image0301_thumb-1.jpg) |
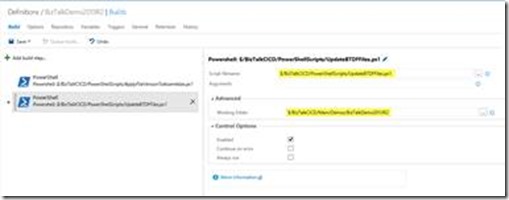
| Configure as shown |
 |
| On the Build Tab
Click Add build step
|
![clip_image028[2] clip_image028[2]](https://www.biztalkbill.com/wp-content/uploads/2016/07/clip_image0282_thumb-1.jpg) |
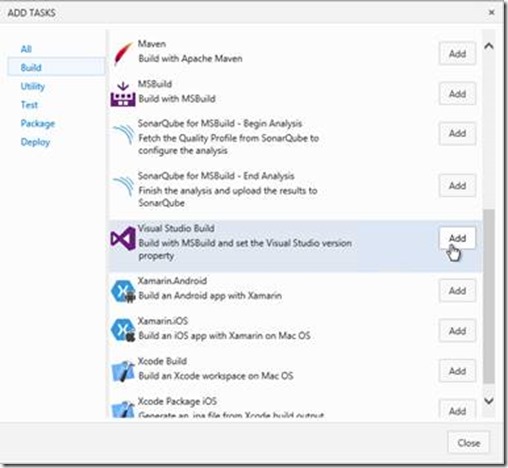
| From Build Tasks, Select Visual Studio Build
Click Add
Click Close
|
 |
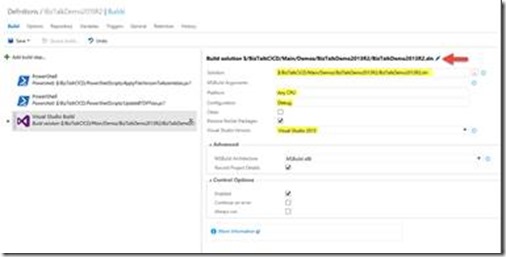
| Configure as Shown
Click the pencil at the end of the name
|
 |
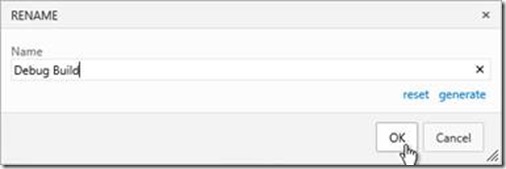
| Update Name
Click OK
|
 |
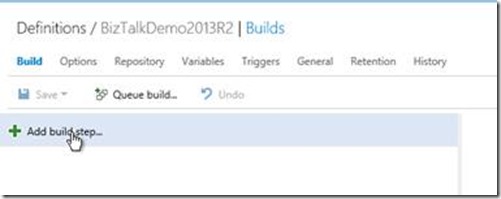
| On the Build Tab
Click Add build step
|
 |
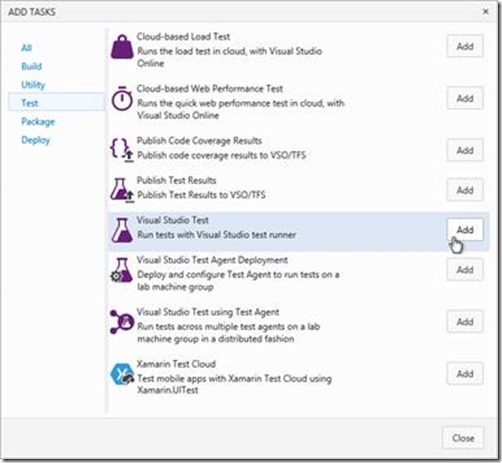
| From Test Tasks, Select Visual Studio Test
Click Add
Click Close
|
 |
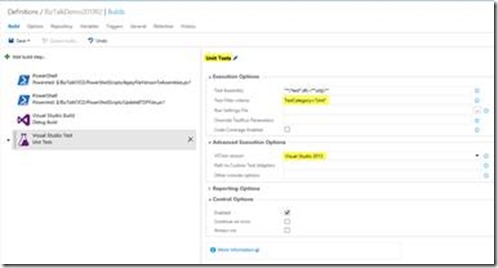
| Configure as Shown
Update Step Name
|
 |
| On the Build Tab
Click Add build step
|
![clip_image041[1] clip_image041[1]](https://www.biztalkbill.com/wp-content/uploads/2016/07/clip_image0411_thumb-1.jpg) |
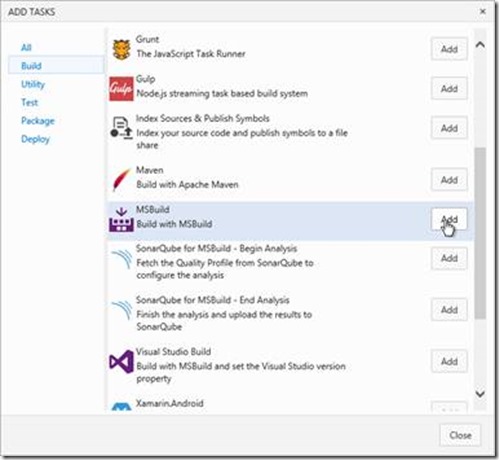
| From Build Tasks, Select MSBuild
Click Add
Click Close
|
 |
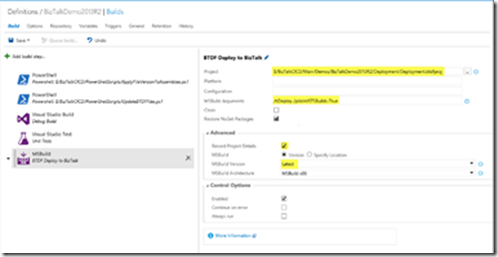
| Configure as Shown
Update Step Name
|
 |
| On the Build Tab
Click Add build step
|
![clip_image041[2] clip_image041[2]](https://www.biztalkbill.com/wp-content/uploads/2016/07/clip_image0412_thumb-1.jpg) |
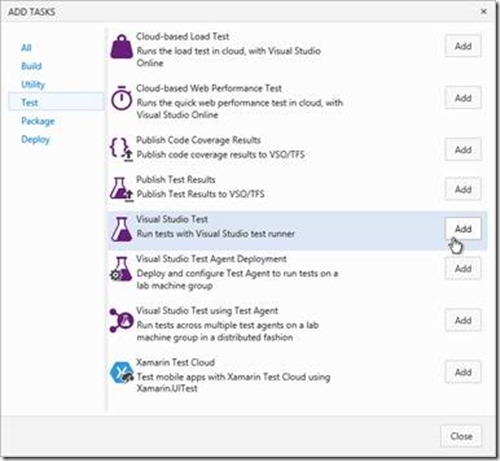
| From Test Tasks, Select Visual Studio Test
Click Add
Click Close
|
 |
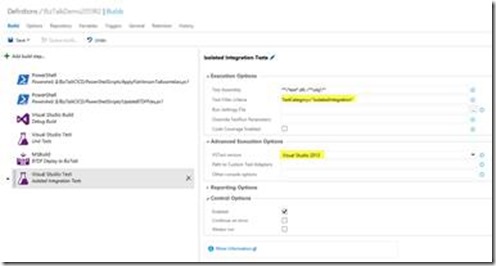
| Configure as Shown
Update Step Name
|
 |
| On the Build Tab
Click Add build step
|
![clip_image041[3] clip_image041[3]](https://www.biztalkbill.com/wp-content/uploads/2016/07/clip_image0413_thumb-1.jpg) |
| From Build Tasks, Select Visual Studio Build
Click Add
Click Close
|
![clip_image036[1] clip_image036[1]](https://www.biztalkbill.com/wp-content/uploads/2016/07/clip_image0361_thumb-1.jpg) |
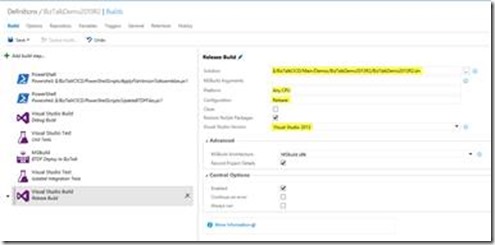
| Configure as Shown
Update Step Name
|
 |
| On the Build Tab
Click Add build step
|
![clip_image041[4] clip_image041[4]](https://www.biztalkbill.com/wp-content/uploads/2016/07/clip_image0414_thumb-1.jpg) |
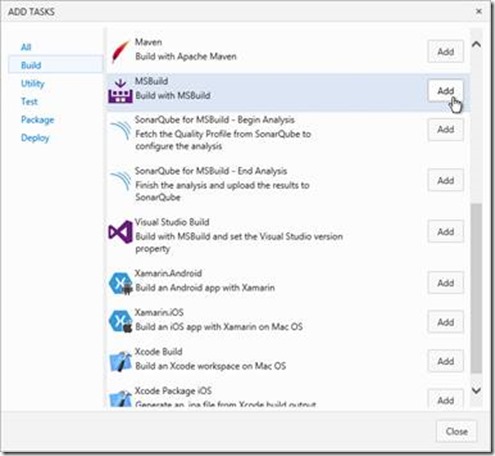
| From Build Tasks, Select MSBuild
Click Add
Click Close
|
 |
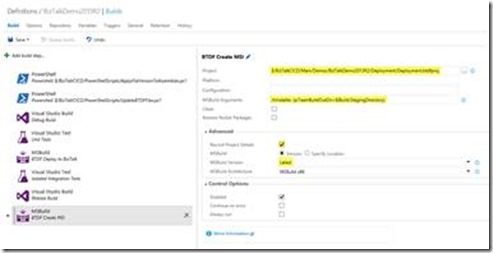
| Configure as Shown
Update Step Name
|
 |
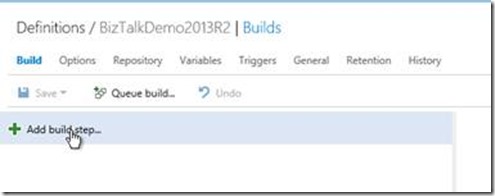
| On the Build Tab
Click Add build step
|
 |
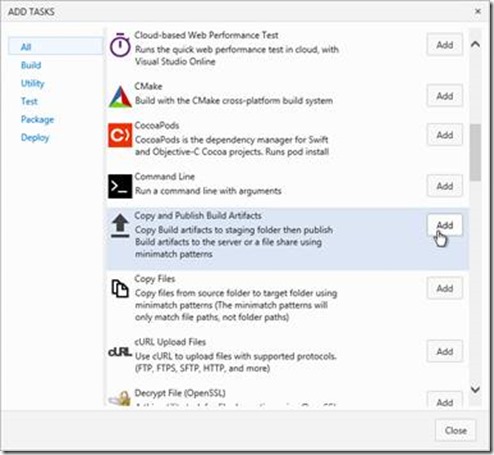
| From All Tasks, Select Copy and Publish Artifacts
Click Add
Click Close
|
 |
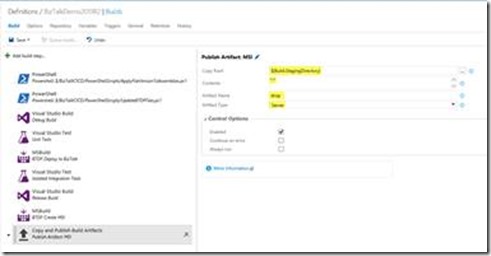
| Configure as Shown
Update Step Name
|
 |
| On the Build Tab
Click Add build step
|
![clip_image060[1] clip_image060[1]](https://www.biztalkbill.com/wp-content/uploads/2016/07/clip_image0601_thumb-1.jpg) |
| From All Tasks, Select Copy and Publish Artifacts
Click Add
Click Close
|
![clip_image062[1] clip_image062[1]](https://www.biztalkbill.com/wp-content/uploads/2016/07/clip_image0621_thumb-1.jpg) |
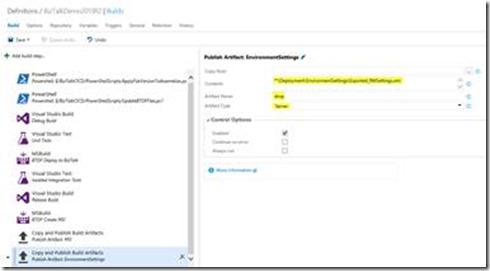
| Configure as Shown
Update Step Name
|
 |
| On the Build Tab
Click Add build step
|
![clip_image060[2] clip_image060[2]](https://www.biztalkbill.com/wp-content/uploads/2016/07/clip_image0602_thumb-1.jpg) |
| From All Tasks, Select Copy and Publish Artifacts
Click Add
Click Close
|
![clip_image062[2] clip_image062[2]](https://www.biztalkbill.com/wp-content/uploads/2016/07/clip_image0622_thumb-1.jpg) |
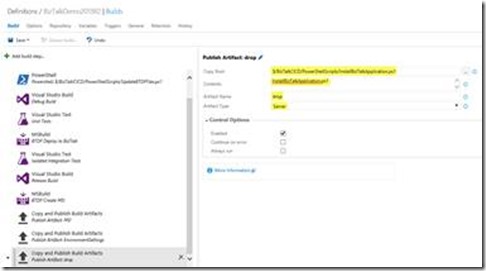
| Configure as Shown
Update Step Name
|
 |
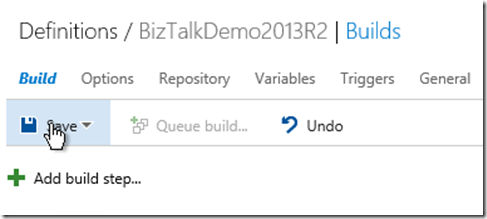
| Click Save |
 |
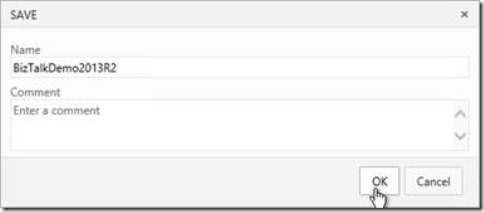
| Click OK |
 |
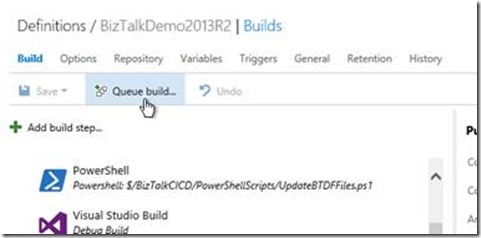
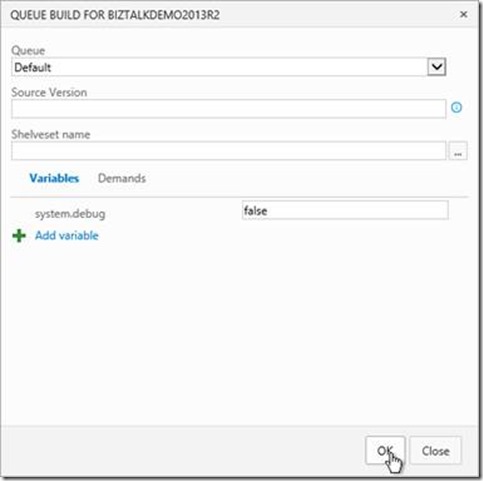
| To Test the Build
Click Queue build
|
 |
| Take Defaults
Click OK
|
 |
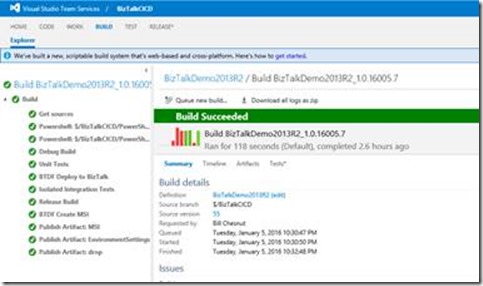
| Verify build complete successfully |
 |




![clip_image028[1] clip_image028[1]](https://www.biztalkbill.com/wp-content/uploads/2016/07/clip_image0281_thumb-1.jpg)
![clip_image030[1] clip_image030[1]](https://www.biztalkbill.com/wp-content/uploads/2016/07/clip_image0301_thumb-1.jpg)

![clip_image028[2] clip_image028[2]](https://www.biztalkbill.com/wp-content/uploads/2016/07/clip_image0282_thumb-1.jpg)


![clip_image041[1] clip_image041[1]](https://www.biztalkbill.com/wp-content/uploads/2016/07/clip_image0411_thumb-1.jpg)


![clip_image041[2] clip_image041[2]](https://www.biztalkbill.com/wp-content/uploads/2016/07/clip_image0412_thumb-1.jpg)


![clip_image041[3] clip_image041[3]](https://www.biztalkbill.com/wp-content/uploads/2016/07/clip_image0413_thumb-1.jpg)
![clip_image036[1] clip_image036[1]](https://www.biztalkbill.com/wp-content/uploads/2016/07/clip_image0361_thumb-1.jpg)

![clip_image041[4] clip_image041[4]](https://www.biztalkbill.com/wp-content/uploads/2016/07/clip_image0414_thumb-1.jpg)


![clip_image060[1] clip_image060[1]](https://www.biztalkbill.com/wp-content/uploads/2016/07/clip_image0601_thumb-1.jpg)
![clip_image062[1] clip_image062[1]](https://www.biztalkbill.com/wp-content/uploads/2016/07/clip_image0621_thumb-1.jpg)

![clip_image060[2] clip_image060[2]](https://www.biztalkbill.com/wp-content/uploads/2016/07/clip_image0602_thumb-1.jpg)
![clip_image062[2] clip_image062[2]](https://www.biztalkbill.com/wp-content/uploads/2016/07/clip_image0622_thumb-1.jpg)


